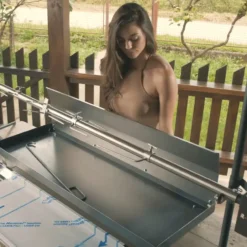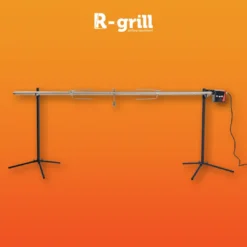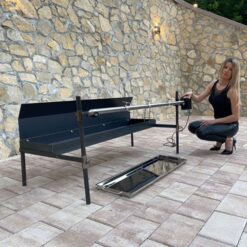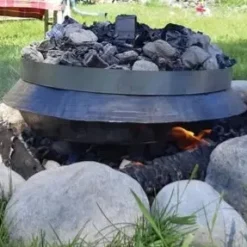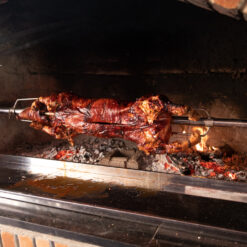
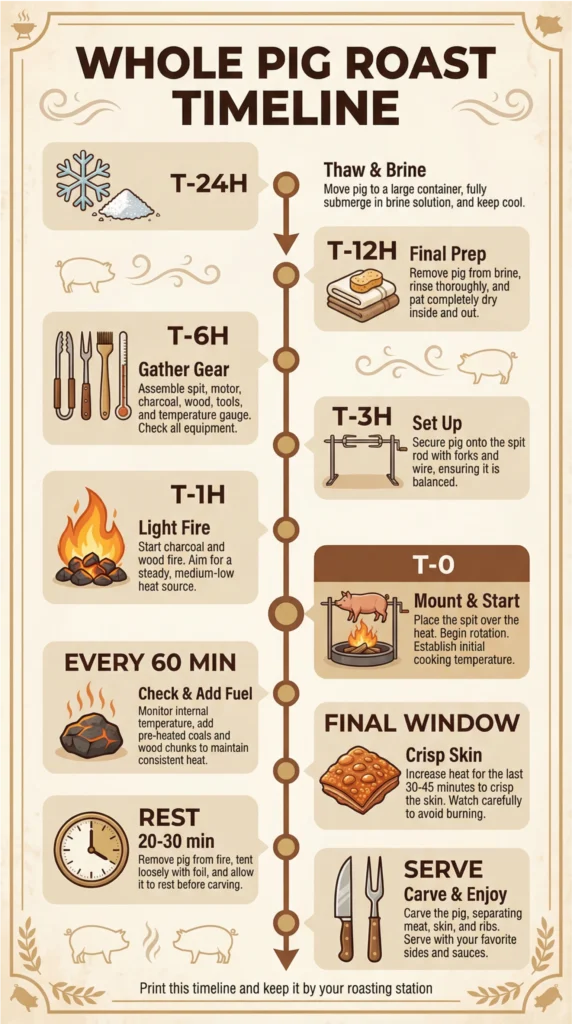
This timeline is your roadmap for a successful whole pig roast. The key is preparation: what you do in the 24 hours before the fire is lit matters most. This guide breaks down every step from thawing to serving. For a full breakdown, see our complete roasting guide. For specific cooking durations, check our Time by Weight: Pig guide. Remember, in cold or windy conditions, the first hour is often just for building a stable fire.
| Time Block | What to Do | Don’t Forget |
|---|---|---|
| T–24h | Thaw & Brine. If frozen, begin thawing in the refrigerator. If fresh, apply your brine or dry rub. | Ensure the pig is in a leak-proof container. Keep it below 40°F (4°C). |
| T–12h | Final Prep. Pat the skin dry. If you didn’t brine, now is the time for a simple salt rub. | A dry skin is key to crispy crackling. |
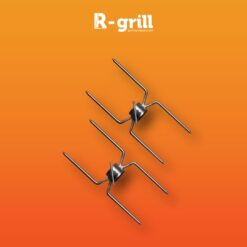
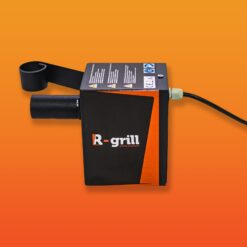
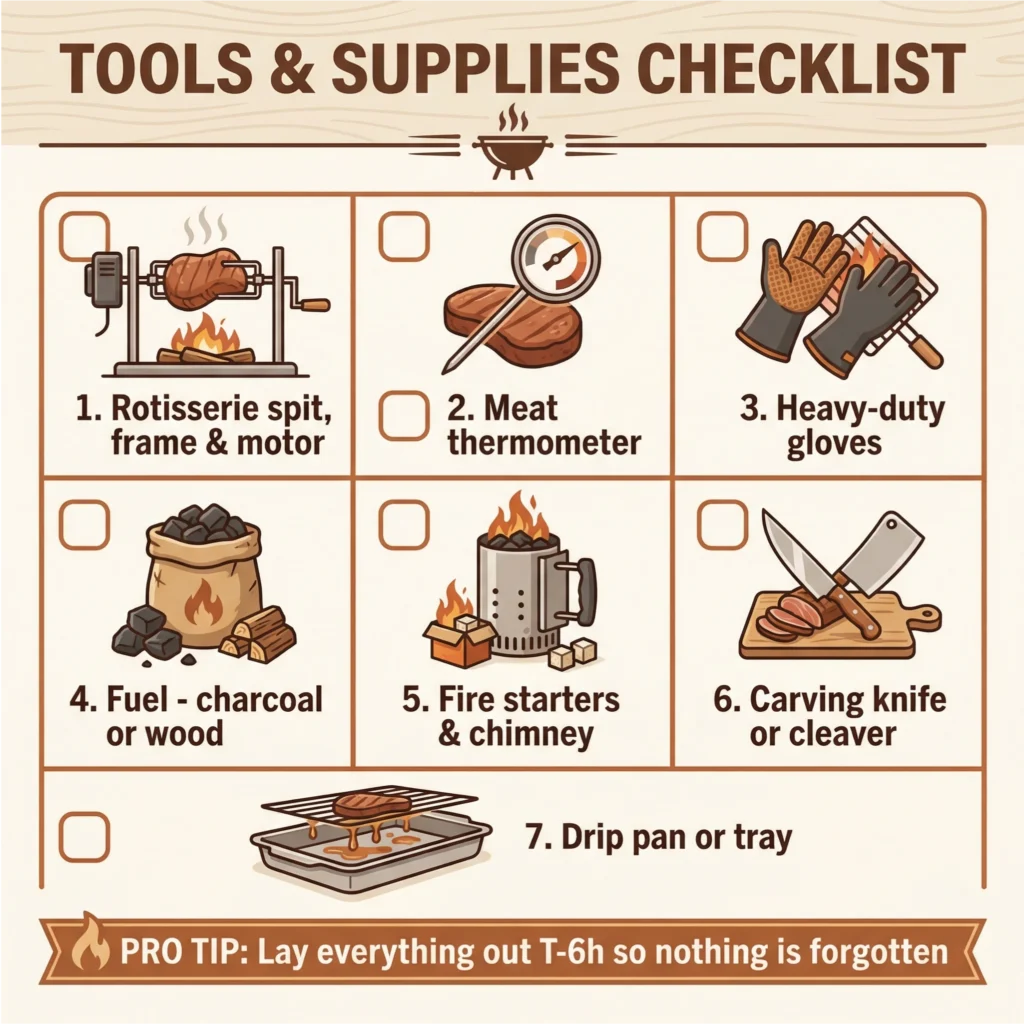
| T–6h | Gather Gear. Lay out all your tools: rotisserie, motor, forks, wire, thermometer, fuel, fire starters, gloves. | Check that your rotisserie motor is working. |
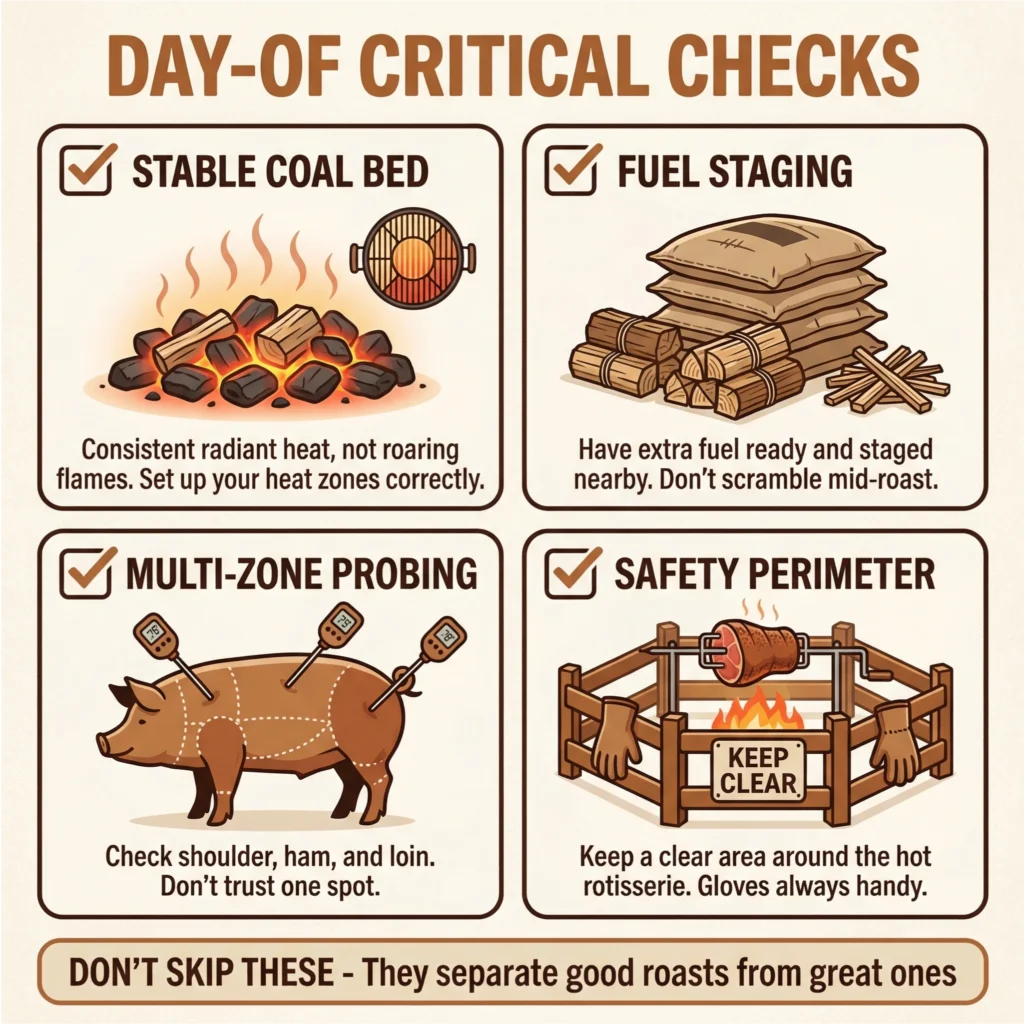
| T–3h | Set Up. Assemble the rotisserie frame. Secure the spit. Prepare your fire area. | Ensure the setup is on level, stable ground, away from flammable materials. |
| T–1h | Light the Fire. Start your charcoal or wood in a chimney or designated area. Let it burn down to glowing embers. | This isn’t cooking time. This is about building a stable coal bed. See our fuel planning guide. |
| T–0 | Mount & Start. Secure the pig on the spit. Turn on the motor. Add the first layer of coals to your heat zones. | Do a final balance check. The spit should rotate smoothly. |
| Every 60 min | Check & Add Fuel. Check the fire and add a few coals every hour to maintain temperature. Check the pig’s color. | Small, regular fuel additions are better than large dumps. |
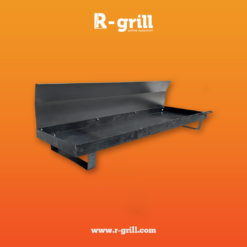
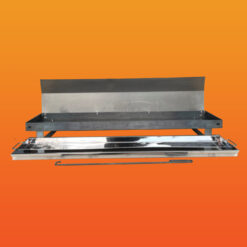
| Final Window | Crisp the Skin. The last 30-60 minutes are for browning. You may need to add a bit more fuel for a final heat push. | Watch closely to prevent burning. This is where a good firebox helps control heat. |
| Resting | Rest for 20-30 min. Once the internal temp hits 145°F (63°C) in the thickest parts, remove from heat and let it rest. | The temperature will continue to rise a few degrees. Don’t skip this step! |
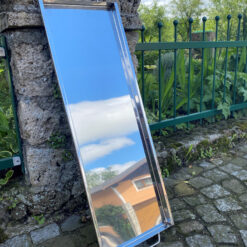
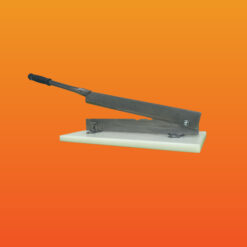
| Serving | Carve & Serve. Use a sharp knife or cleaver to carve. A stainless steel tray is great for catching juices. | Enjoy the feast! |
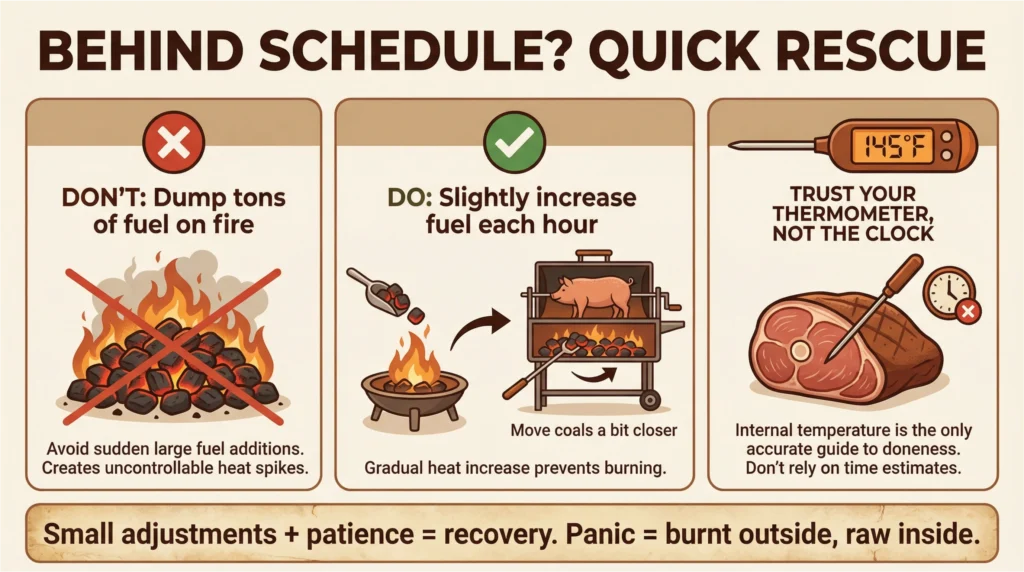
If your pig is cooking slower than expected, resist the urge to dump a ton of fuel on the fire. This usually leads to a burnt exterior and undercooked interior. Instead, slightly increase the amount of fuel you add each hour and move the coals a little closer to the pig. The goal is to raise the ambient heat gently, not scorch the meat. Trust your thermometer, not the clock.
Now that you have the timeline, make sure you have everything you need. Here are the essential guides: